How it works
A WizzIQ repair, step by step
Prepare, fill, inspect, cure, finish. This is how your technicians repair an impact on laminated glass. Choose your way of repairing and go through the six steps.
 Step 1 of 6
1. Clean the area
Clean around the impact with a clean cloth, moistened with glass cleaner if needed, without touching the impact itself. Never spray a product directly onto the impact: it would contaminate it before the repair.
Products used
 Step 2 of 6
2. Open the impact and fit the bridge
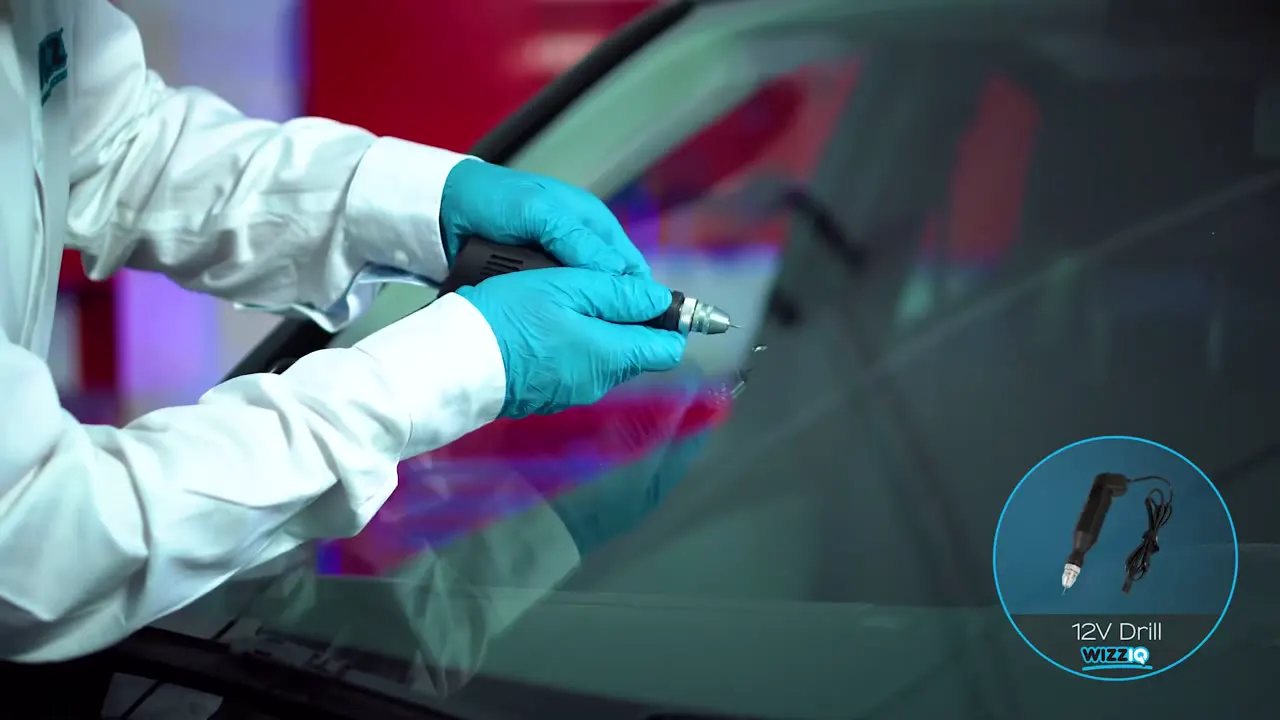
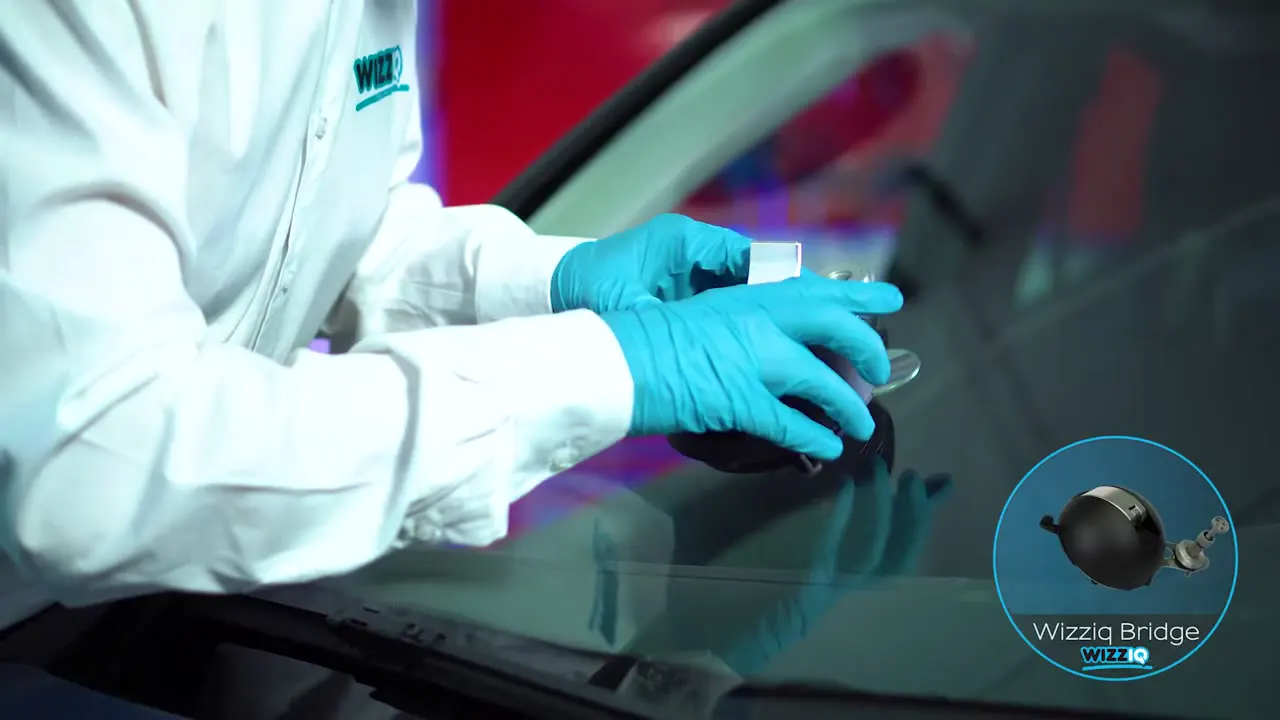
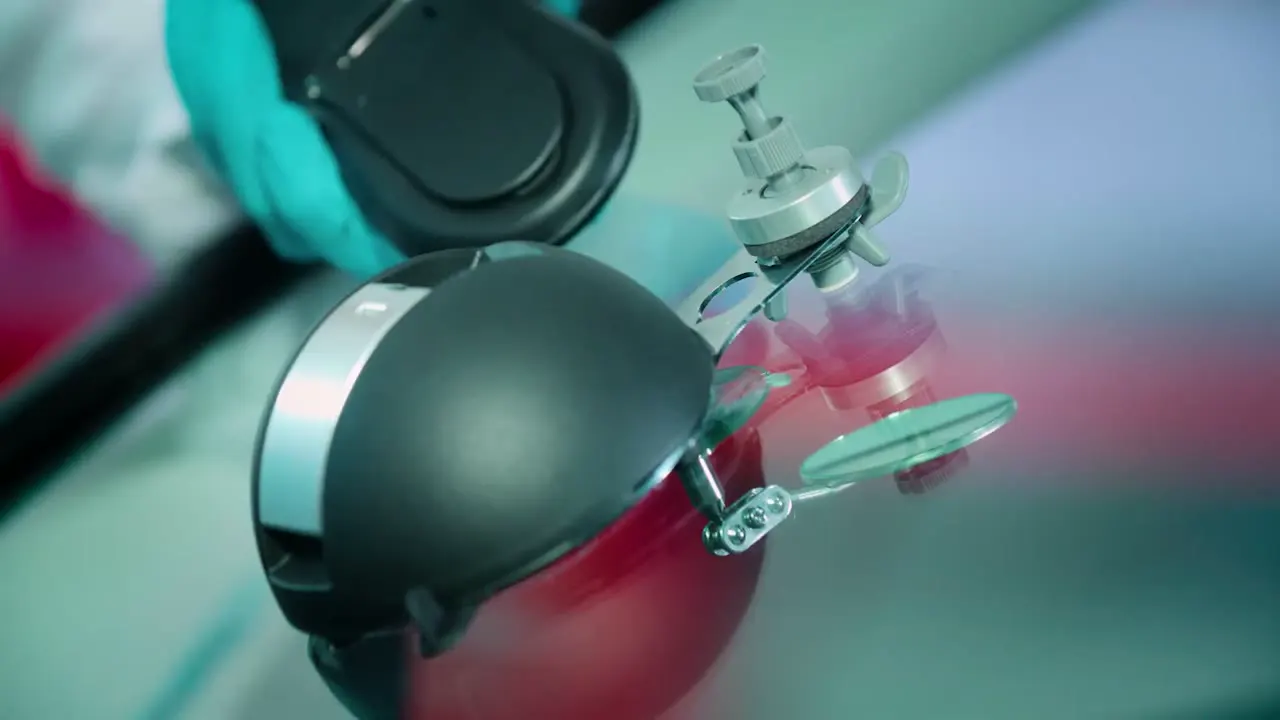
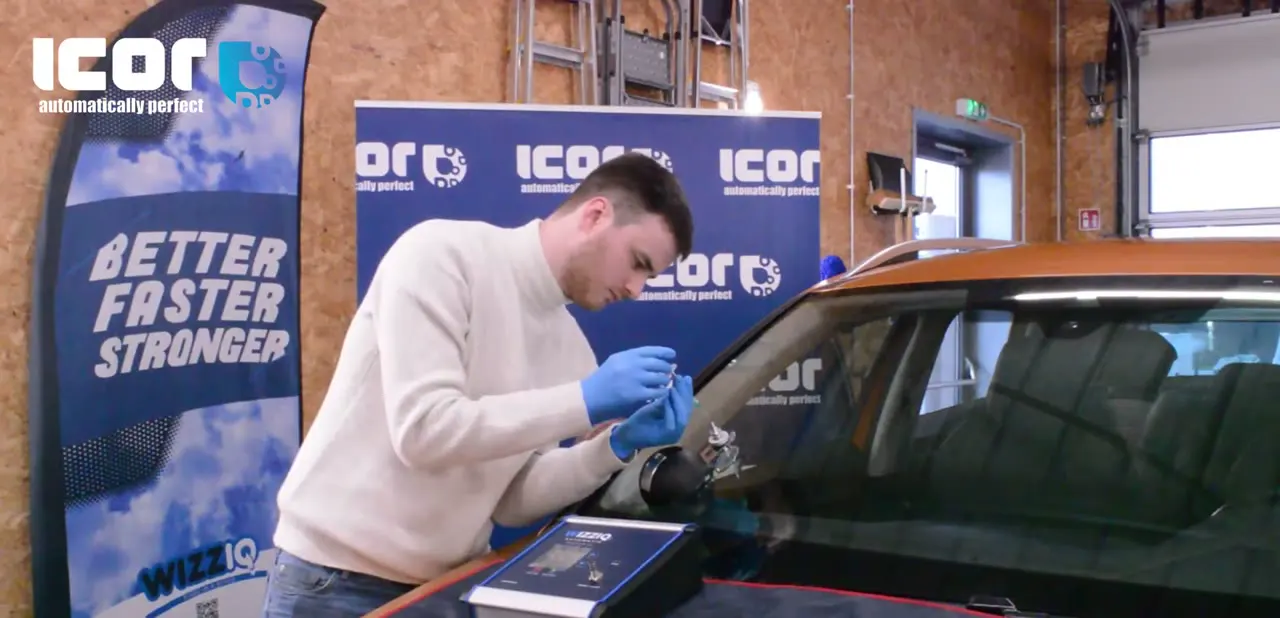
If needed, drill the impact lightly (1 mm maximum), holding the drill at 45° with both hands. Put a little gel on the suction cup, centre the bridge and its injector over the impact, then screw in the injector until the two front feet lift slightly.
Products used
 Step 3 of 6
3. Inject the resin
This step is run by the machine.
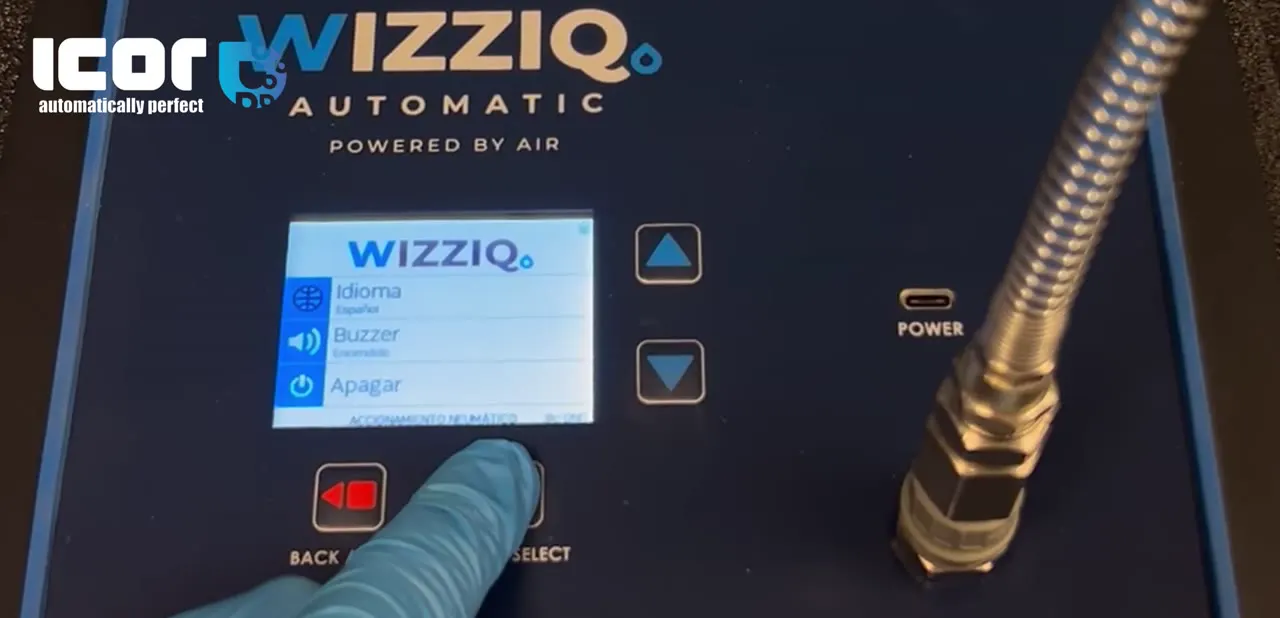
Choose the programme: star, bull's eye or combination.
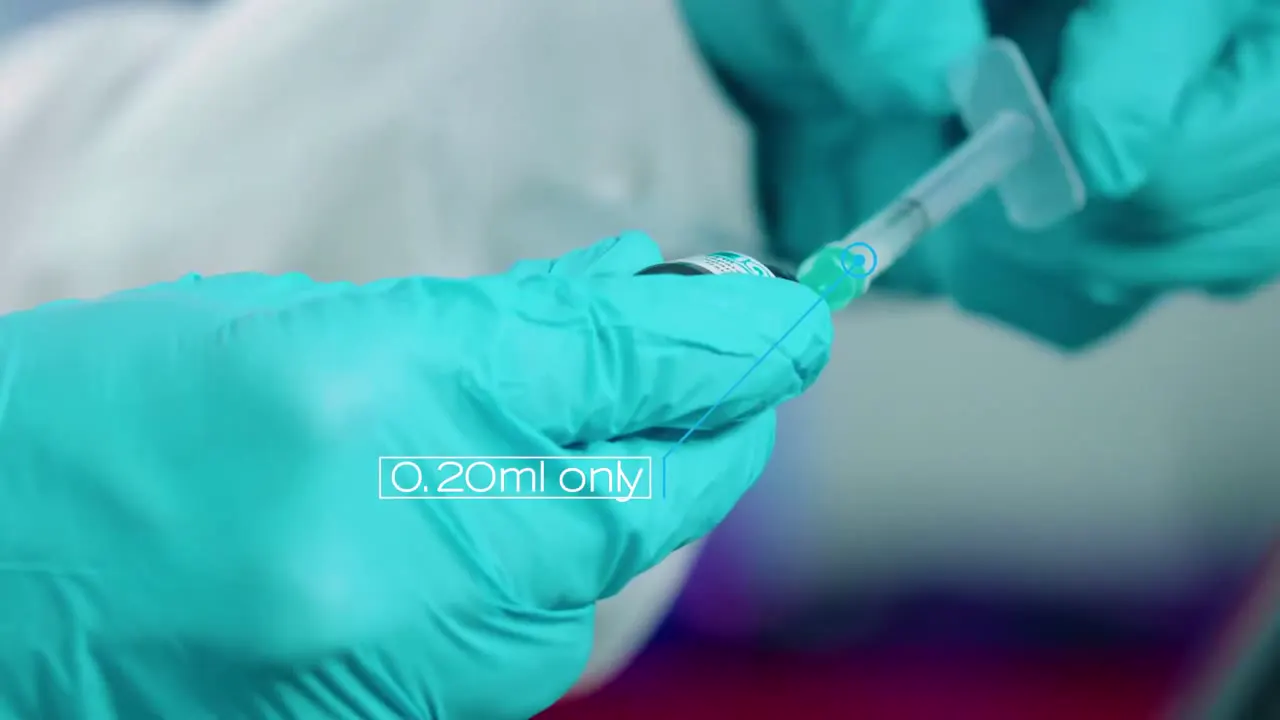
Draw 0.2 ml of repair resin with the syringe supplied, insert the needle into the injector without touching the impact and let the resin flow. Clean the syringe straight away.
Products used
 Step 4 of 6
4. Alternate pressure and vacuum
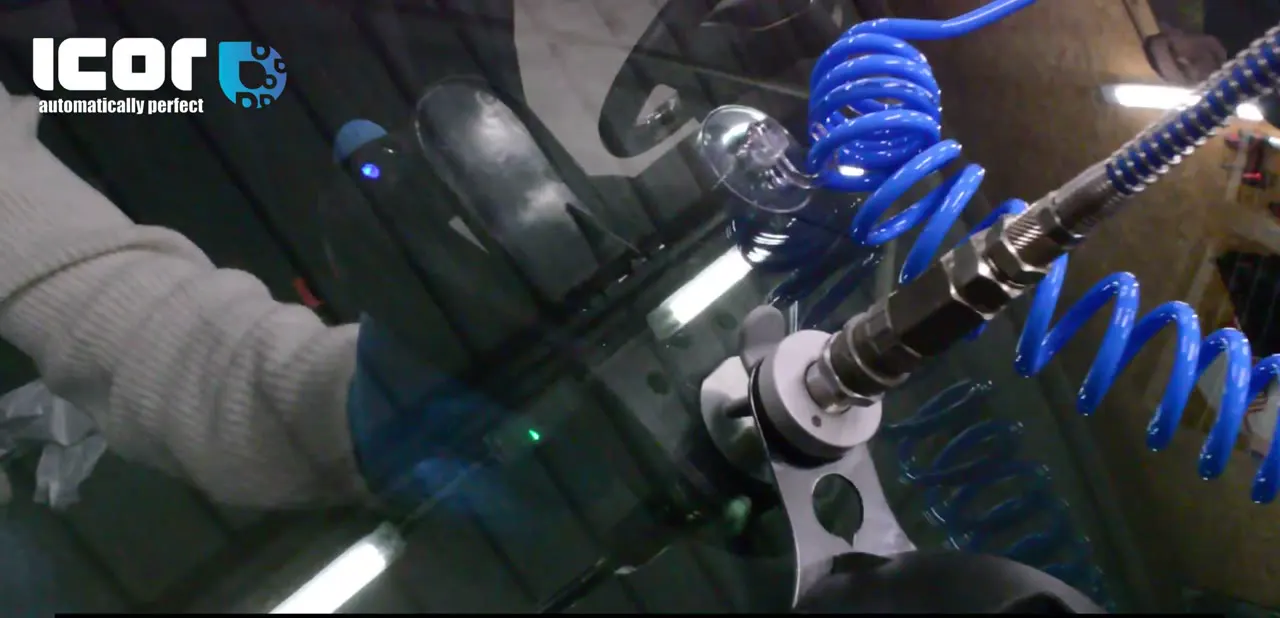
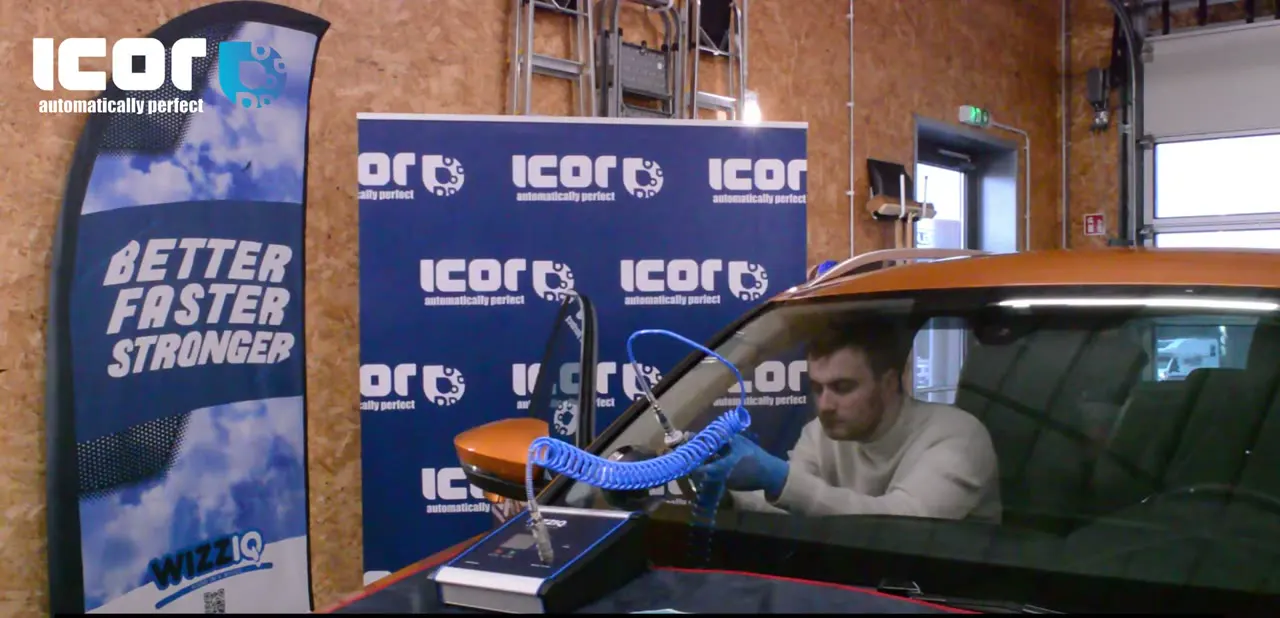
The machine runs the pressure and vacuum cycles on its own, in 4 minutes at most, with the programme you choose: star, bull's eye or combination break. Your technician is free in the meantime.
Screw in the piston until you reach the right pressure (a second lip appears in the injector, check with the mirror), let the resin spread for about one minute, loosen for 15 seconds, then start again. During the second pressure phase, gently warm the impact from inside the vehicle with the heater to help the air escape.
Products used
 Step 5 of 6
5. Inspect
Swing the bridge arm aside, clean around and look for air bubbles (black dots). If any remain, put the arm back and run another pressure cycle until there are none left. Never switch on the lamp while air remains.
Products used
 Step 6 of 6
6. Cure and finish
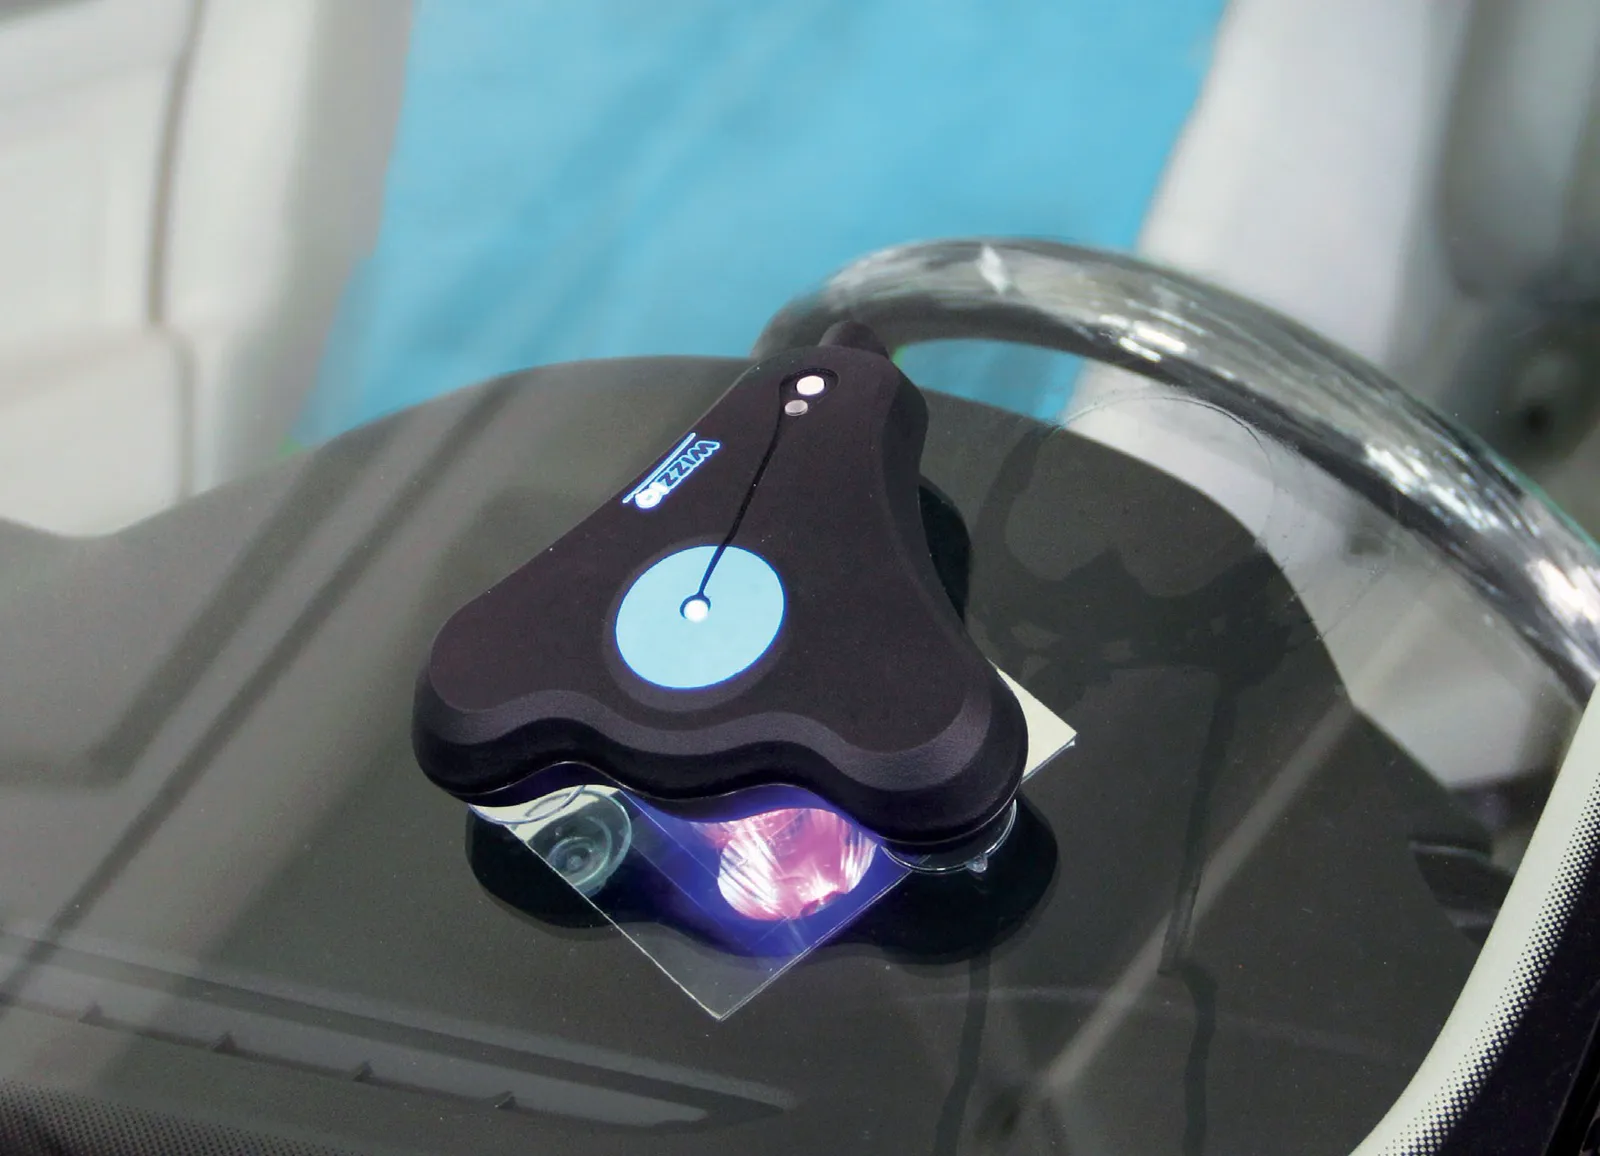
Put a drop of finishing resin (pit fill) on the impact and cover it straight away with a UV film. Place the LED-UV lamp above it, attach the suction cups one by one and press the button twice: the lamp stops on its own at the end of the cycle. Remove the lamp and the film, scrape off the excess with the blade held at 90°, polish with WizzIQ paste and the felt pad, then clean the glass.
Products used
Before you start: Wear gloves (or a barrier cream) and safety glasses: resins can irritate the skin and eyes. In case of contact with the eyes, rinse thoroughly with water and see a doctor.